Logging In
The dashboard uses email and password authentication. Go to backoffice.kotanipay.com, enter your registered email and password, and click Sign In.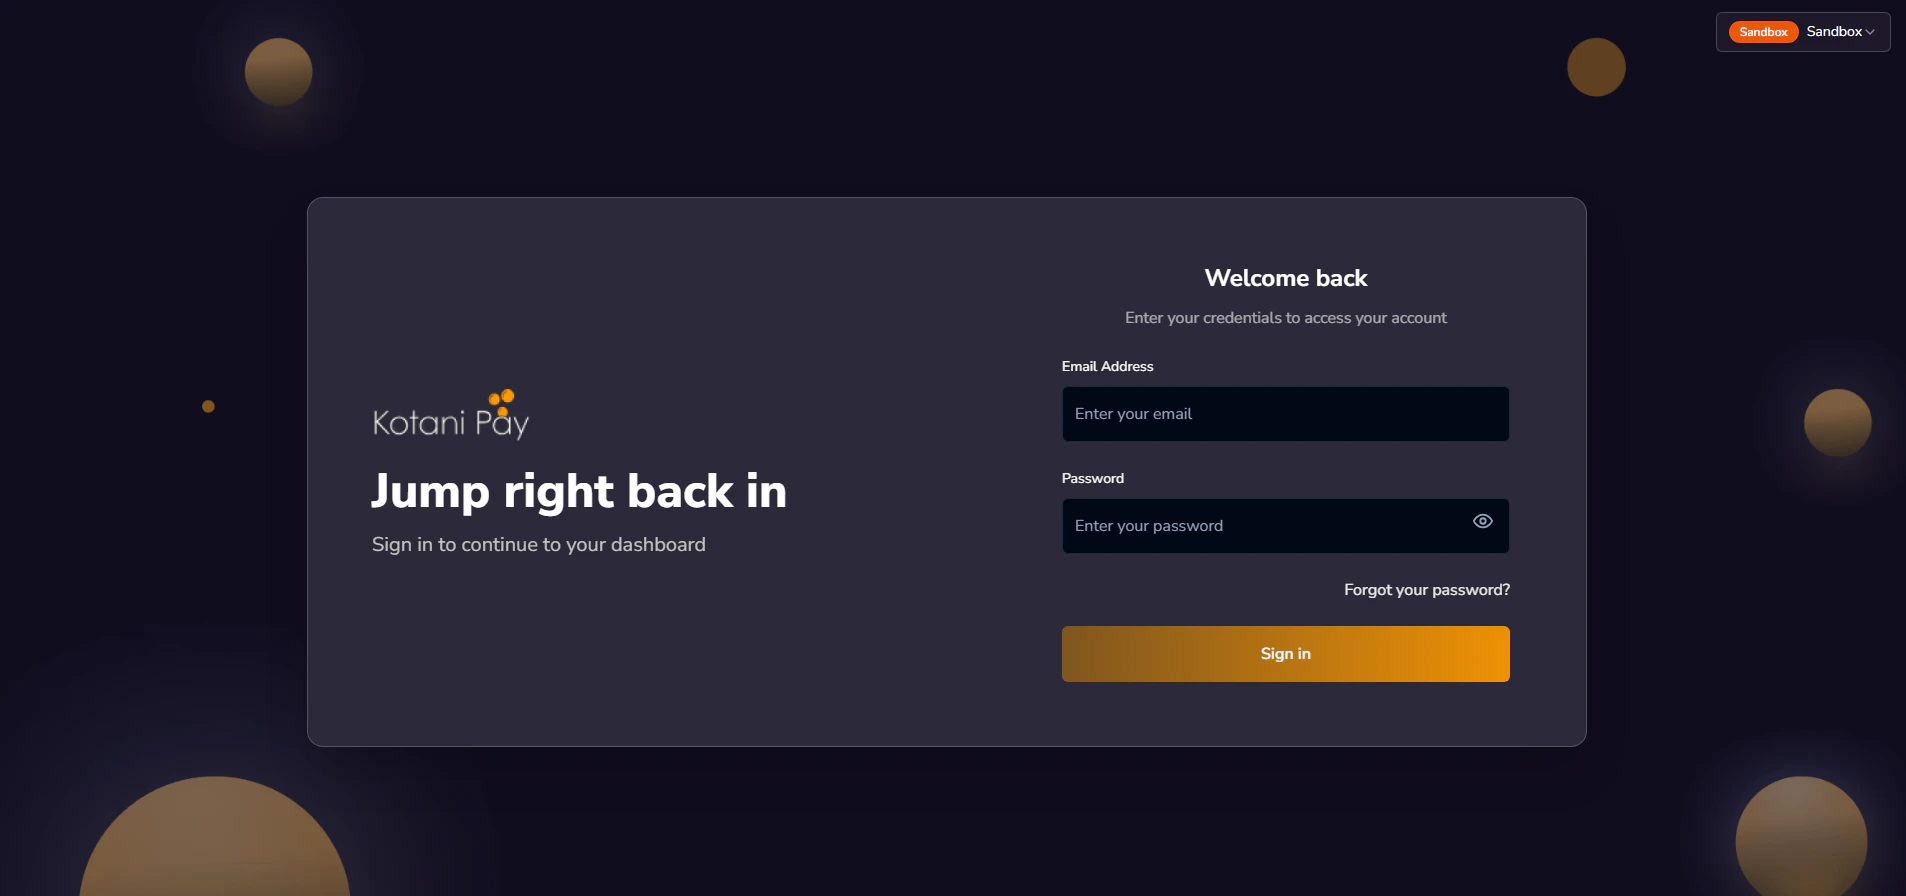
Your dashboard login is separate from the API authentication flow. The dashboard uses email + password. The API uses a magic link sent to your email — see API Keys for that flow.
Choosing Your Environment
On your first login, before the main dashboard loads, you’ll see an environment gate asking which environment to work in.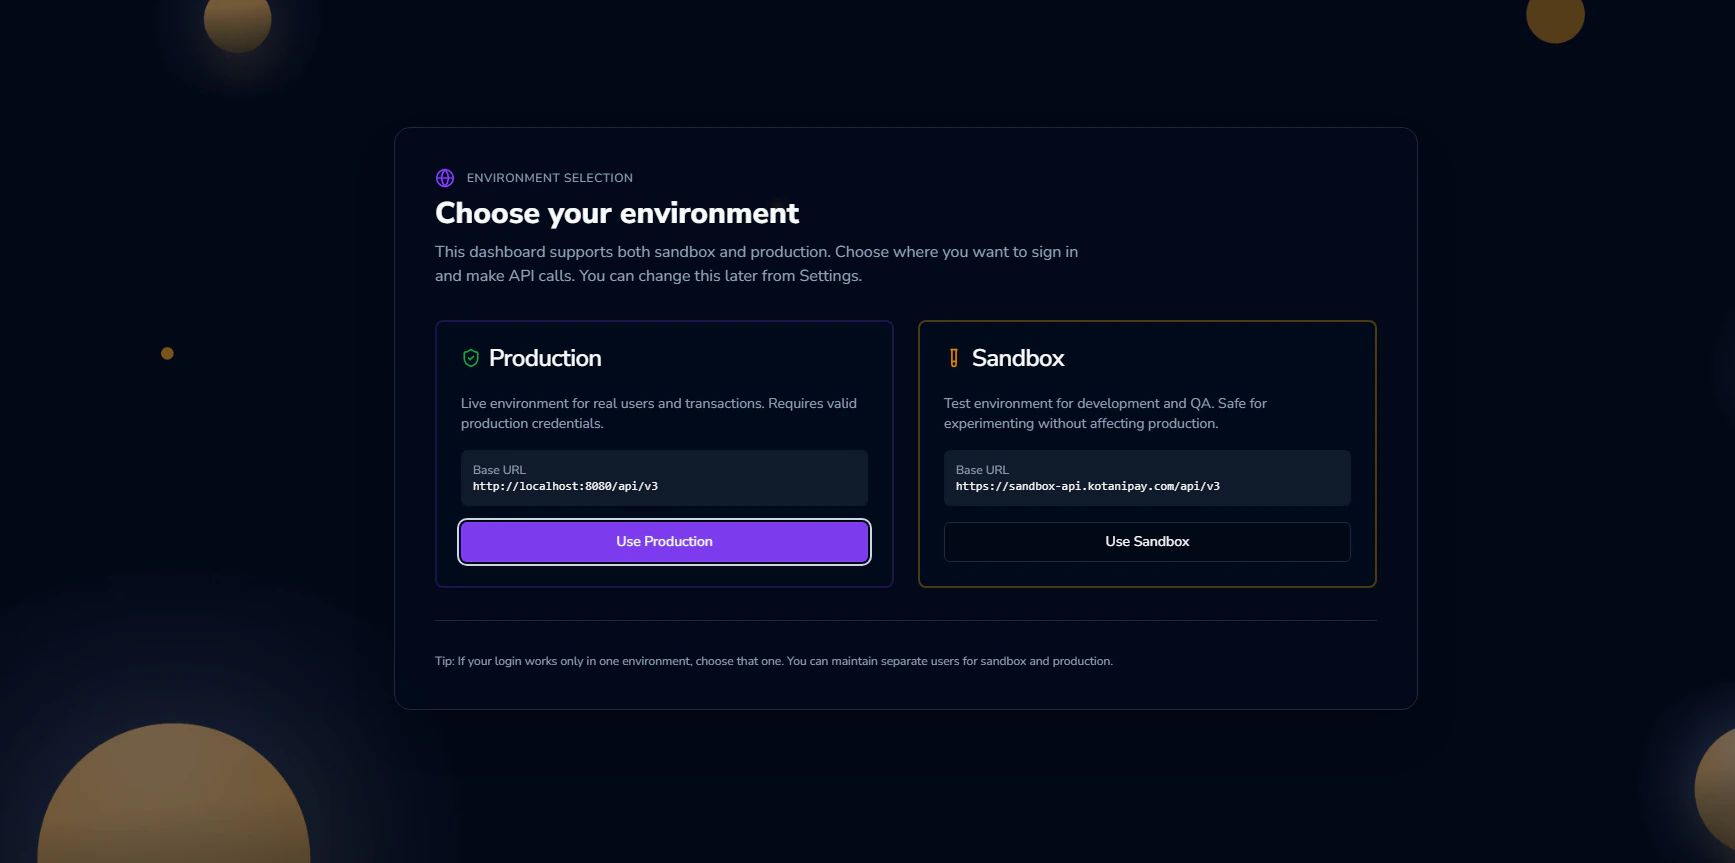
First-Time Login / Setting Your Password
If your account was just created and you haven’t set a password yet, use the Forgot Password flow below to set one. Your account email is your registered integrator email.Forgot Password
If you don’t have a password or can’t remember it:1
Click 'Forgot Password'
On the login page, click the Forgot Password link.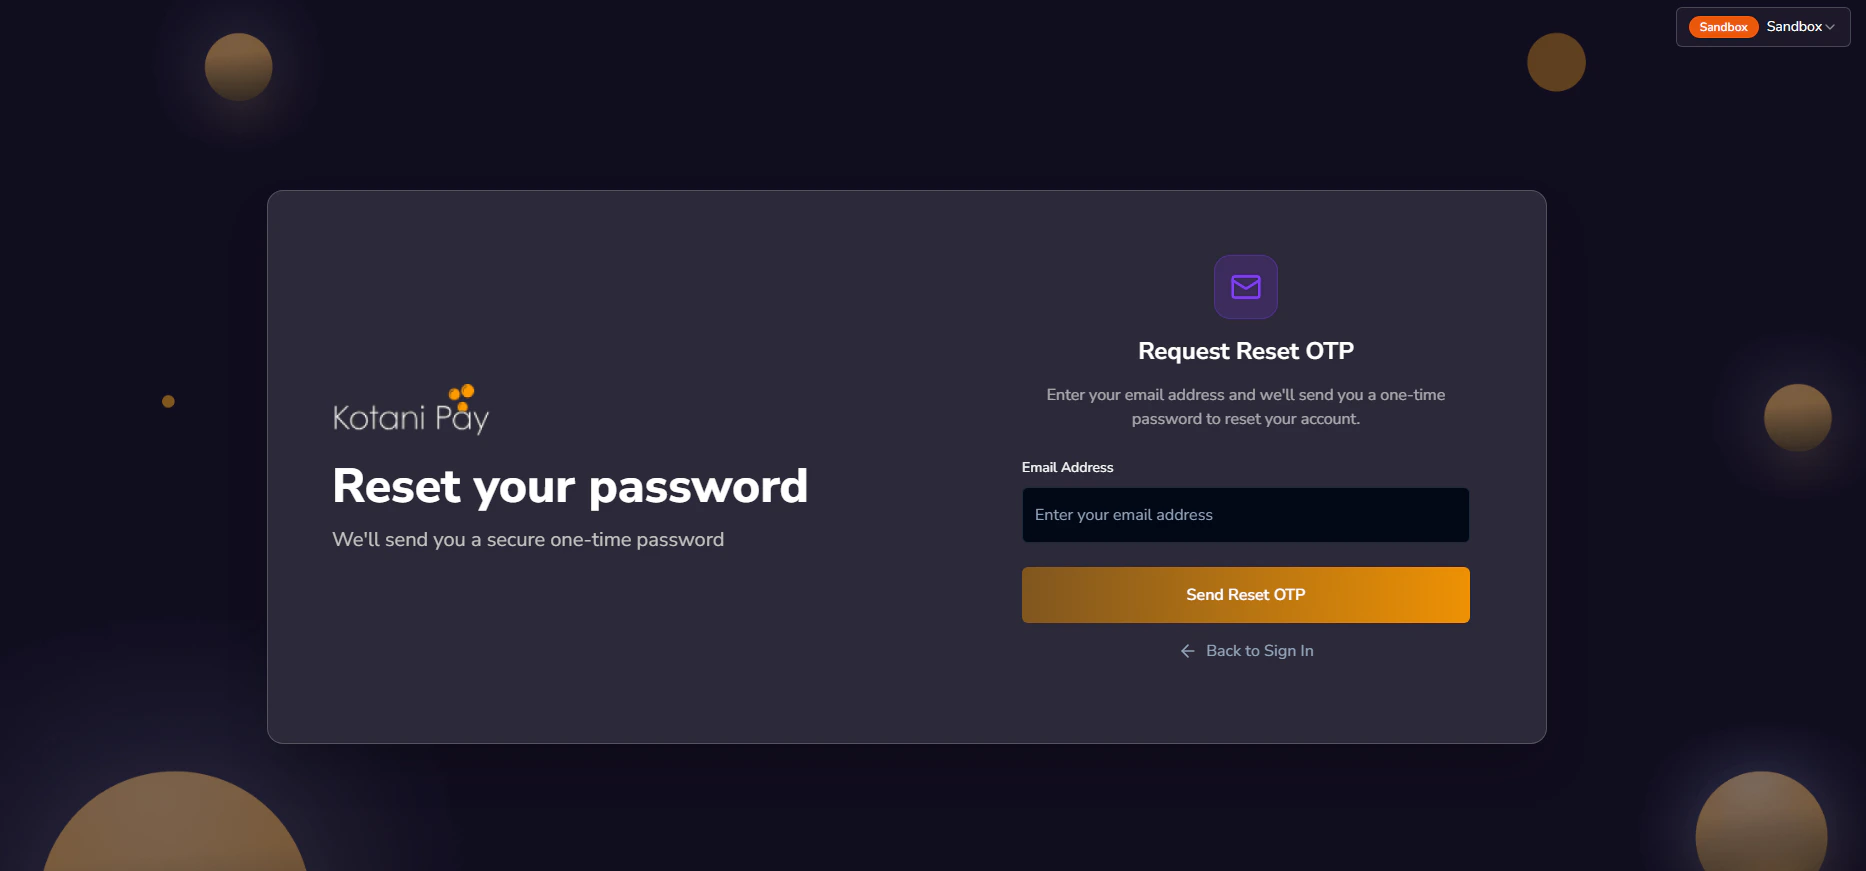
2
Enter your email address
Enter your registered integrator email and submit. A 6-digit OTP is sent to that email address. The code expires in 10 minutes.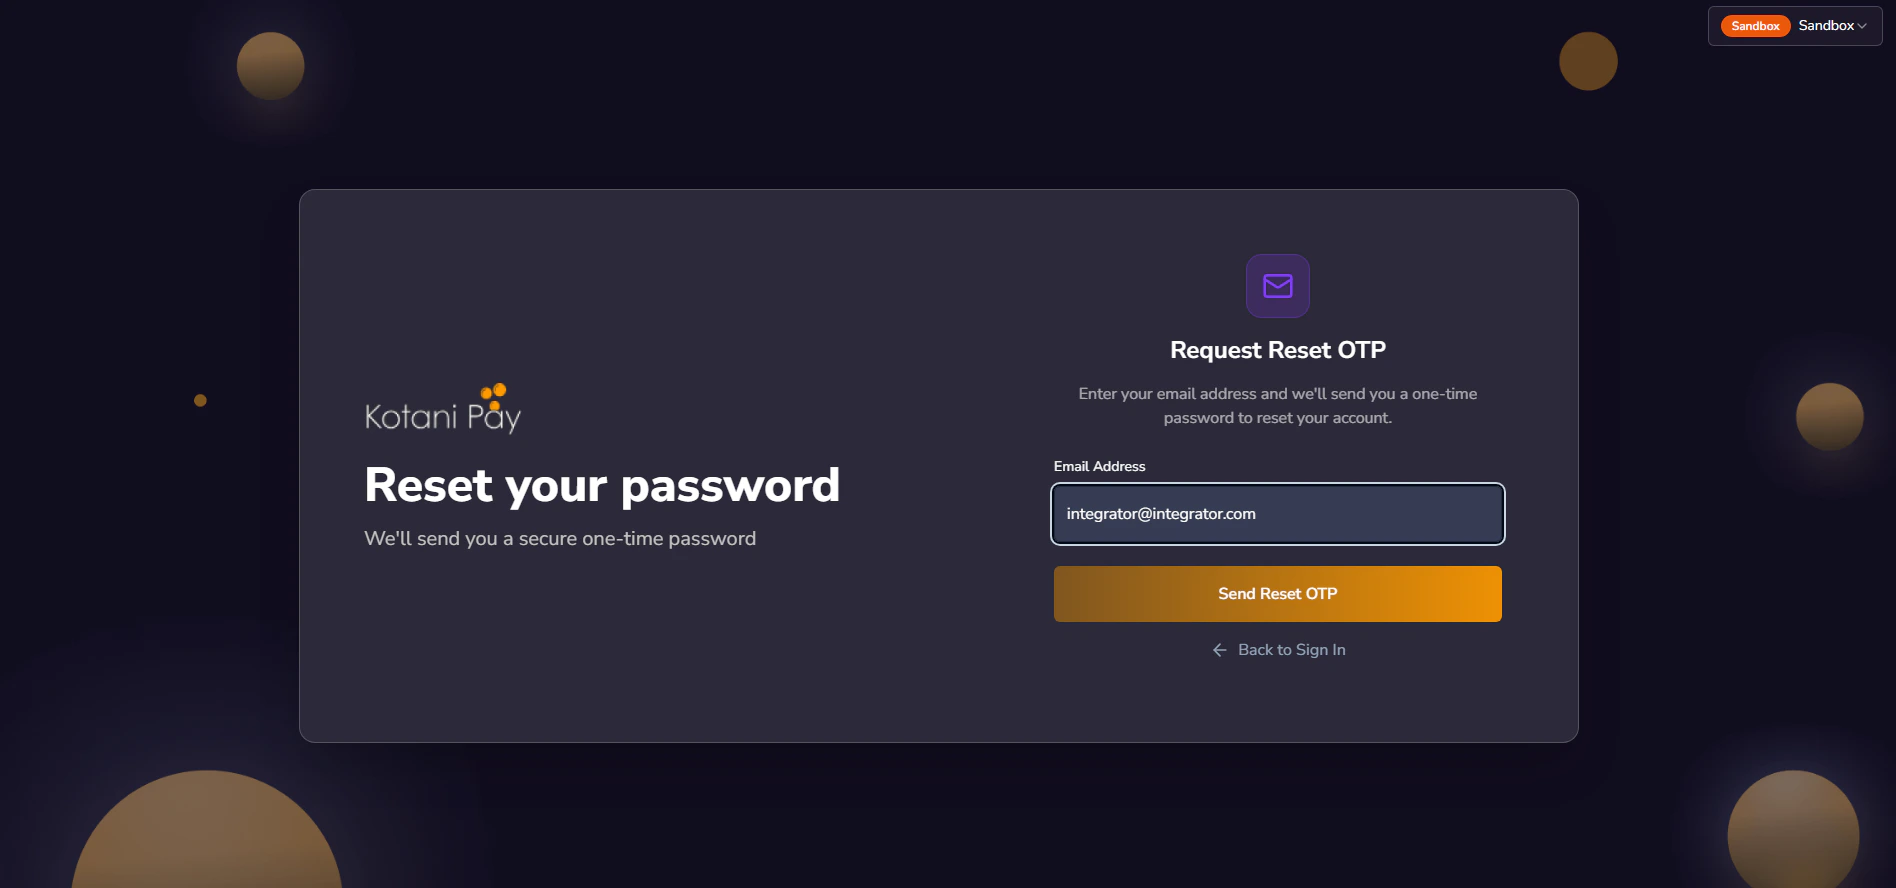
3
Check your inbox for the OTP
Look for an email from Kotani Pay with your one-time password. Check spam if you don’t see it within a minute.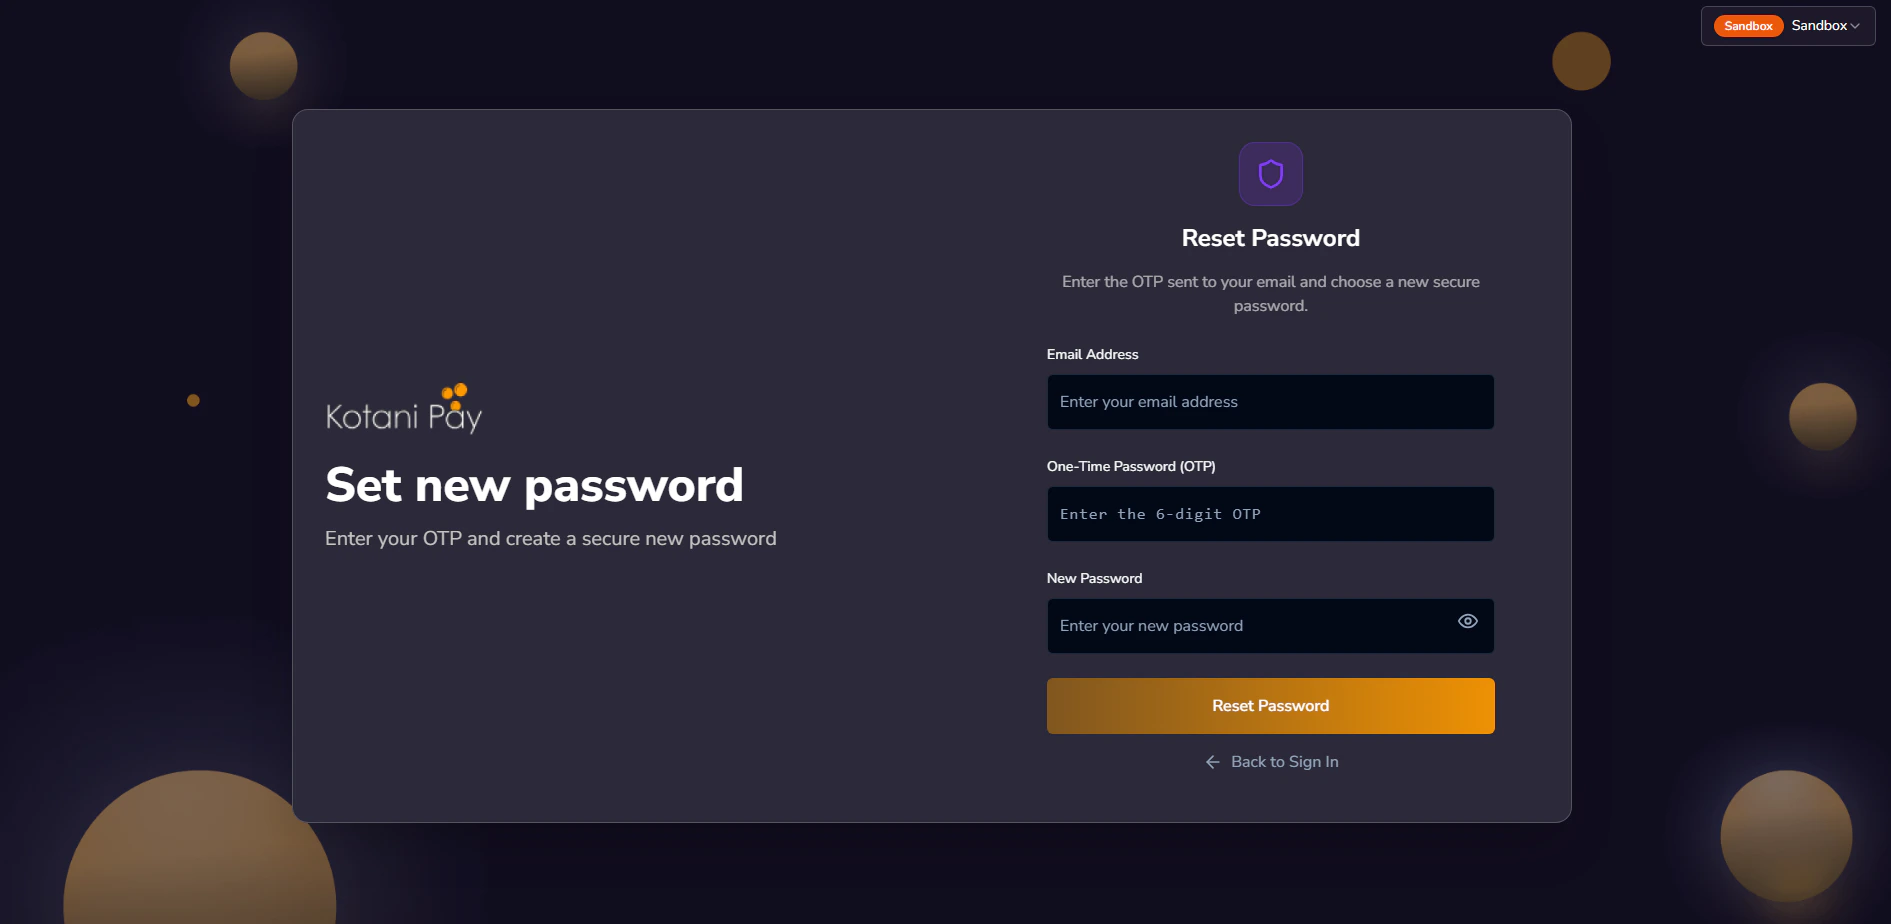
4
Enter the OTP and set your new password
Back on the dashboard, enter the 6-digit code along with your new password (and confirmation). Submit to save.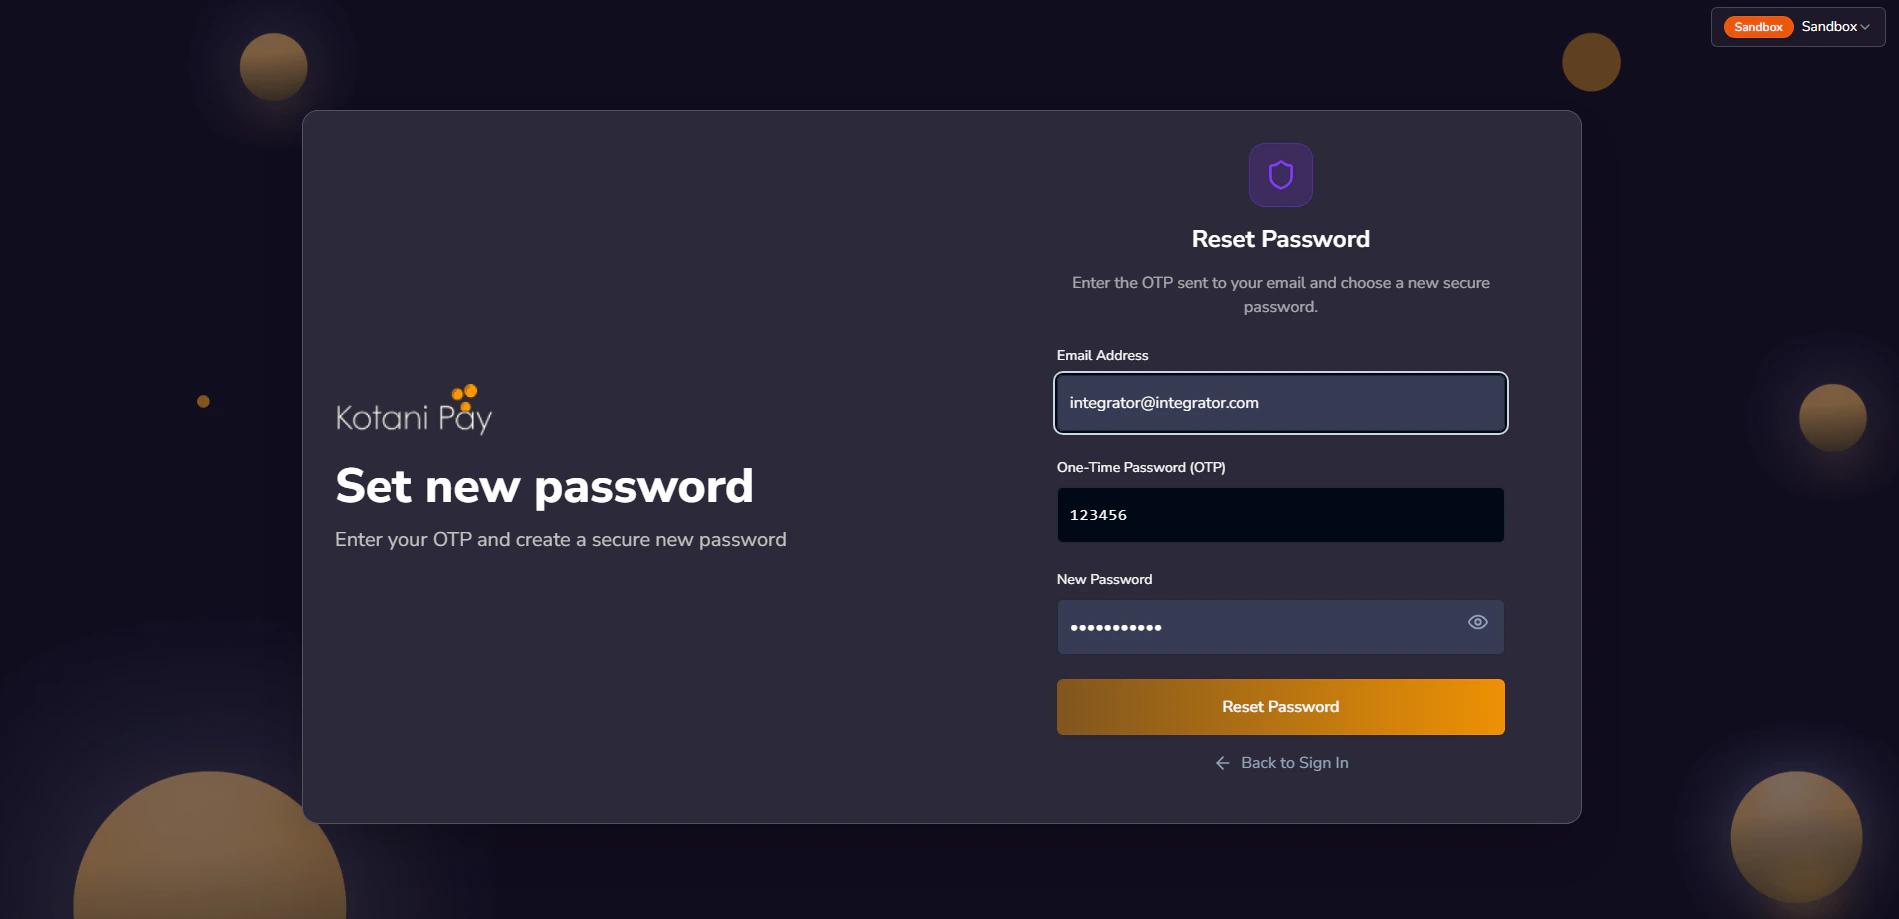
5
Log in with your new password
Once saved, go back to the login screen and sign in with your email and the new password.
Dashboard Overview
After logging in, you’ll see the main dashboard. The left sidebar is your primary navigation.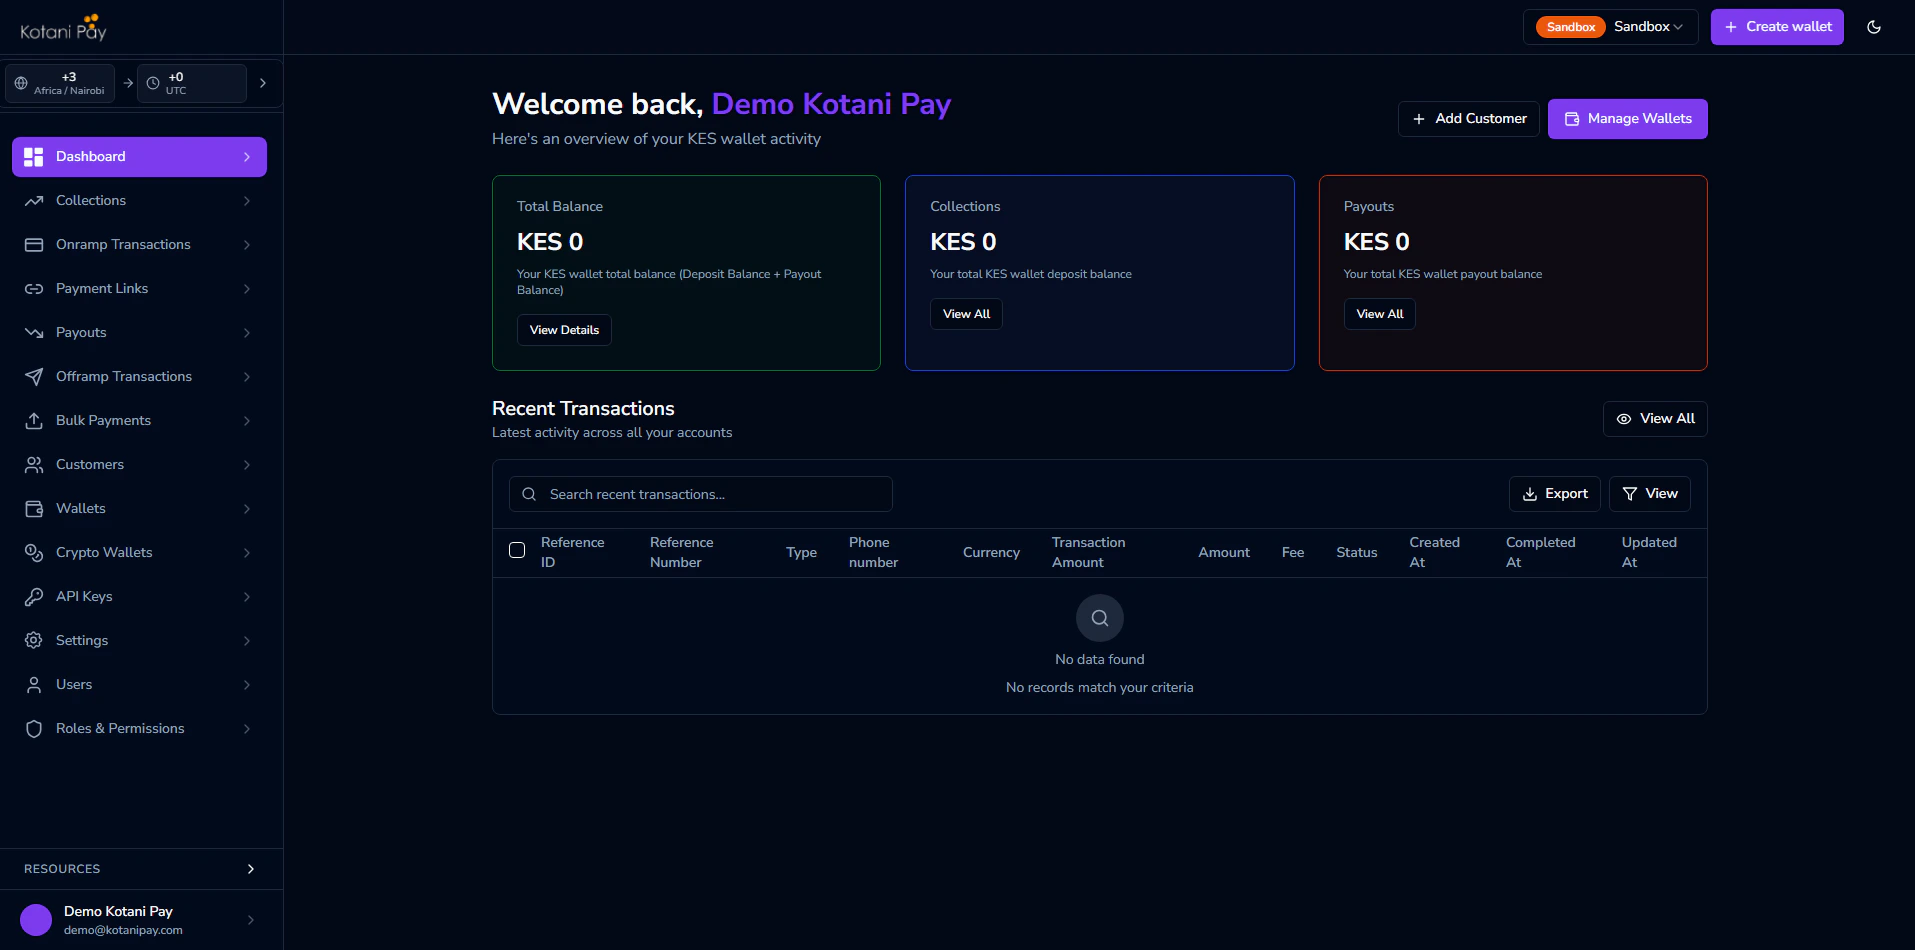
Country & Currency Filter
In the top-right corner of the dashboard, there is a country and currency selector. This filters all transaction lists and balance views to show only records for that country/currency combination.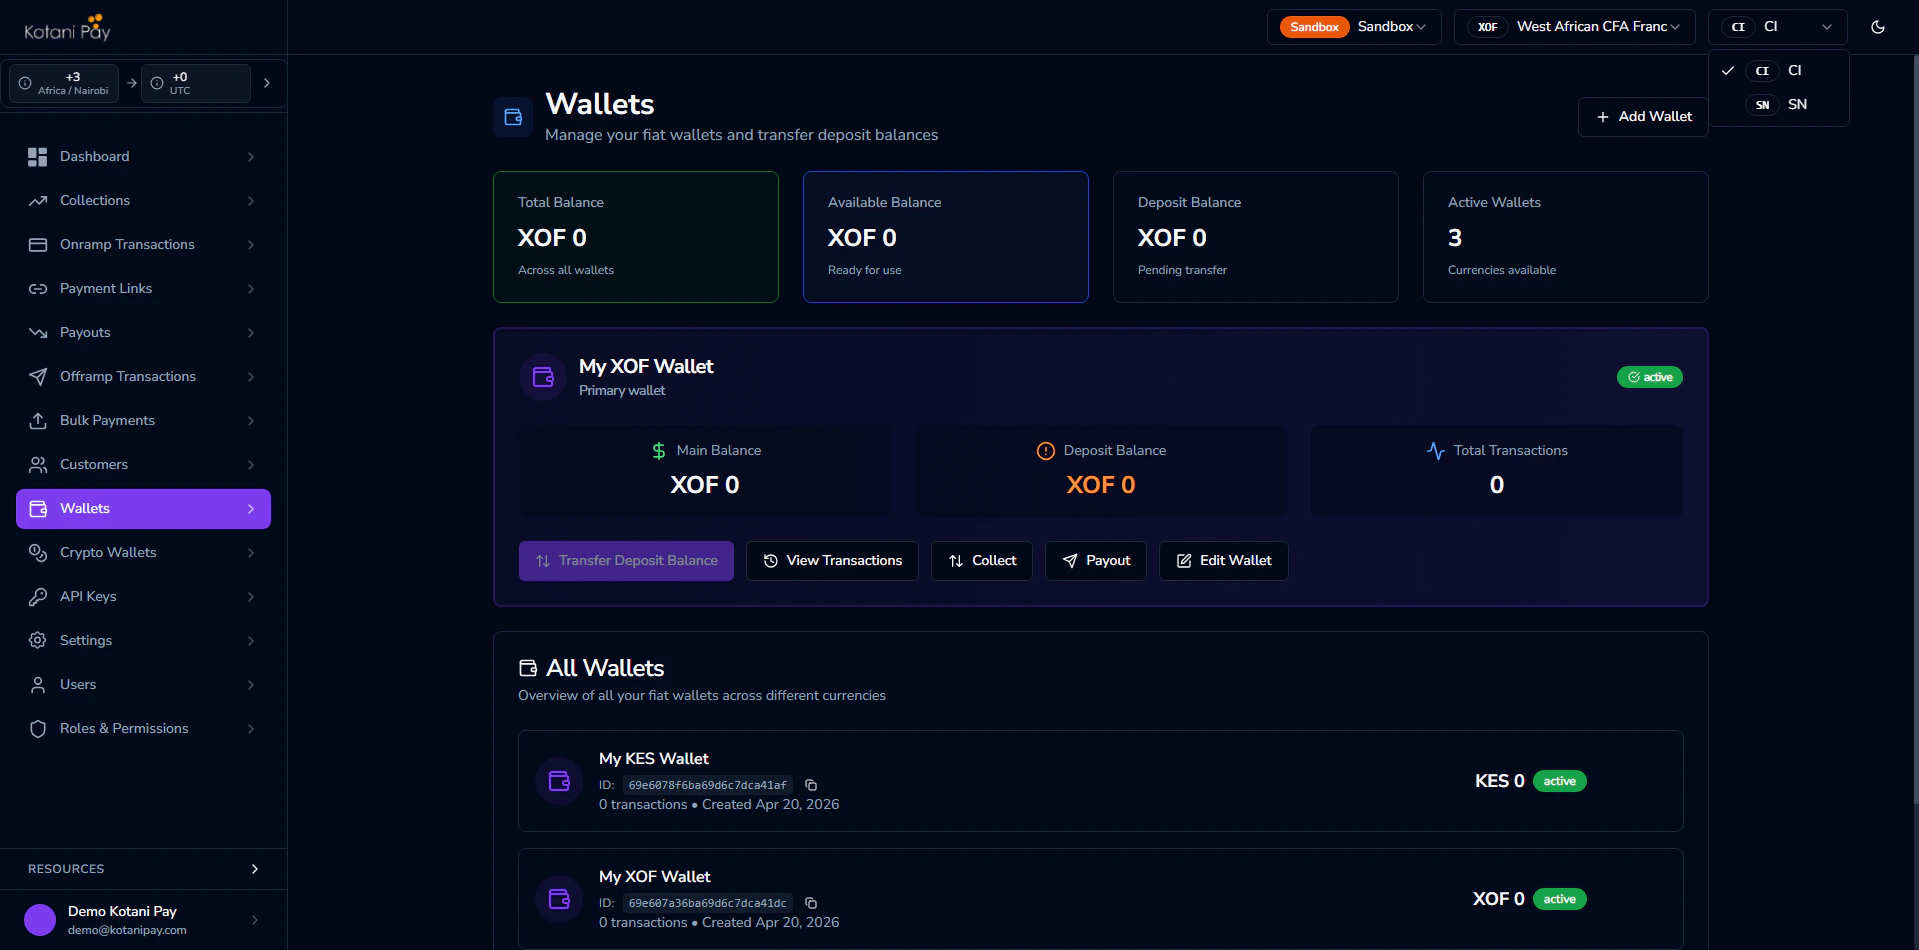
Next Steps
Generate API Keys
Set up API keys to authenticate your server-side integration
Balances & Settlement
Understand deposit vs payout balances and how to settle funds