> ## Documentation Index
> Fetch the complete documentation index at: https://developers.kotanipay.com/llms.txt
> Use this file to discover all available pages before exploring further.
# API Keys
> How to generate API keys from the dashboard or via the API, and the two key types
API keys are used for server-to-server authentication with the Kotani Pay API. There are two ways to generate them: from the dashboard (no code required) or via the API using the magic link authentication flow.
***
## Method 1 — Generate from the Dashboard
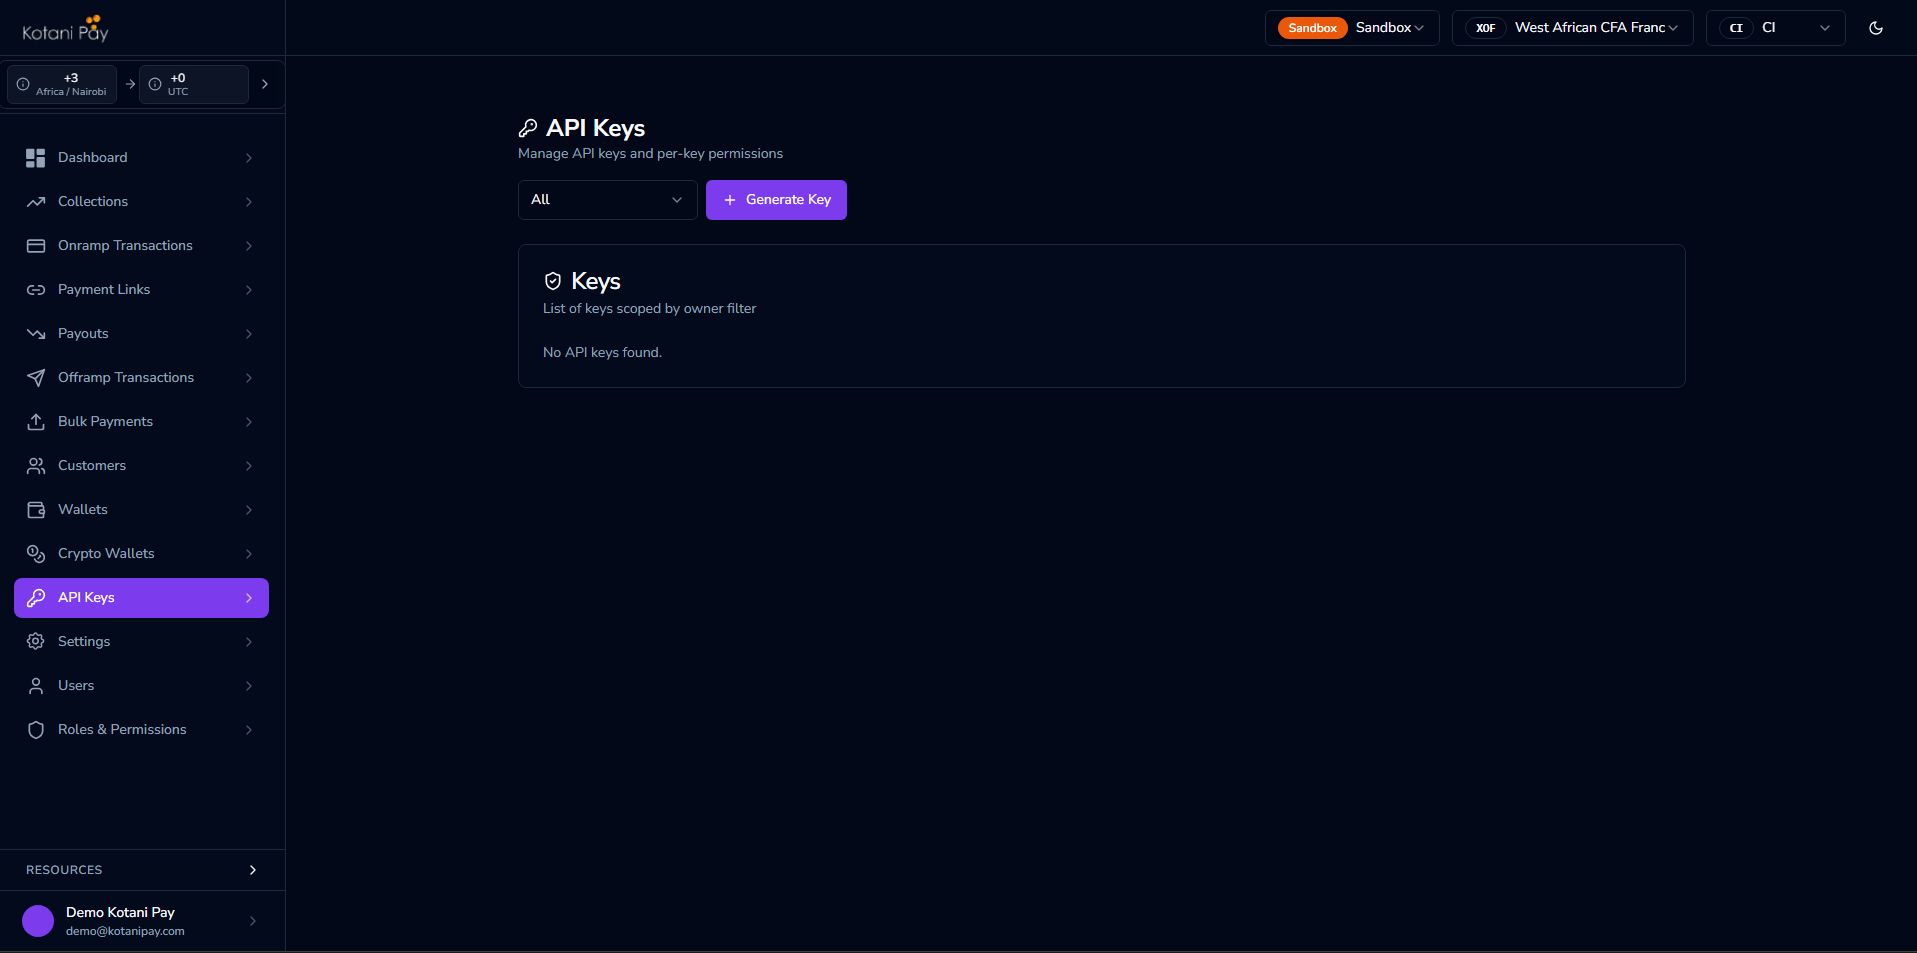
The easiest way to get an API key is directly from the backoffice dashboard.
1. Log in to [backoffice.kotanipay.com](https://backoffice.kotanipay.com)
2. Click **API Keys** in the left sidebar
3. Click **Generate New Key** and choose the key type (integrator-level or user-bound)
4. Copy the key immediately — it will not be shown again after you leave the page
5. To revoke a key, find it in the list and click **Revoke**
 ***
## Method 2 — Generate via the API
If you need to generate keys programmatically, use the magic link authentication flow to get a JWT, then call the key generation endpoint.
### Step 1 — Get a JWT via Magic Link
Call `POST /auth/login` with your registered integrator email:
```bash theme={null}
curl -X POST https://sandbox-api.kotanipay.com/api/v3/auth/login \
-H "Content-Type: application/json" \
-d '{"email": "you@yourcompany.com"}'
```
Response:
```json theme={null}
{
"success": true,
"message": "login magic link sent to your email",
"data": {}
}
```
***
## Method 2 — Generate via the API
If you need to generate keys programmatically, use the magic link authentication flow to get a JWT, then call the key generation endpoint.
### Step 1 — Get a JWT via Magic Link
Call `POST /auth/login` with your registered integrator email:
```bash theme={null}
curl -X POST https://sandbox-api.kotanipay.com/api/v3/auth/login \
-H "Content-Type: application/json" \
-d '{"email": "you@yourcompany.com"}'
```
Response:
```json theme={null}
{
"success": true,
"message": "login magic link sent to your email",
"data": {}
}
```
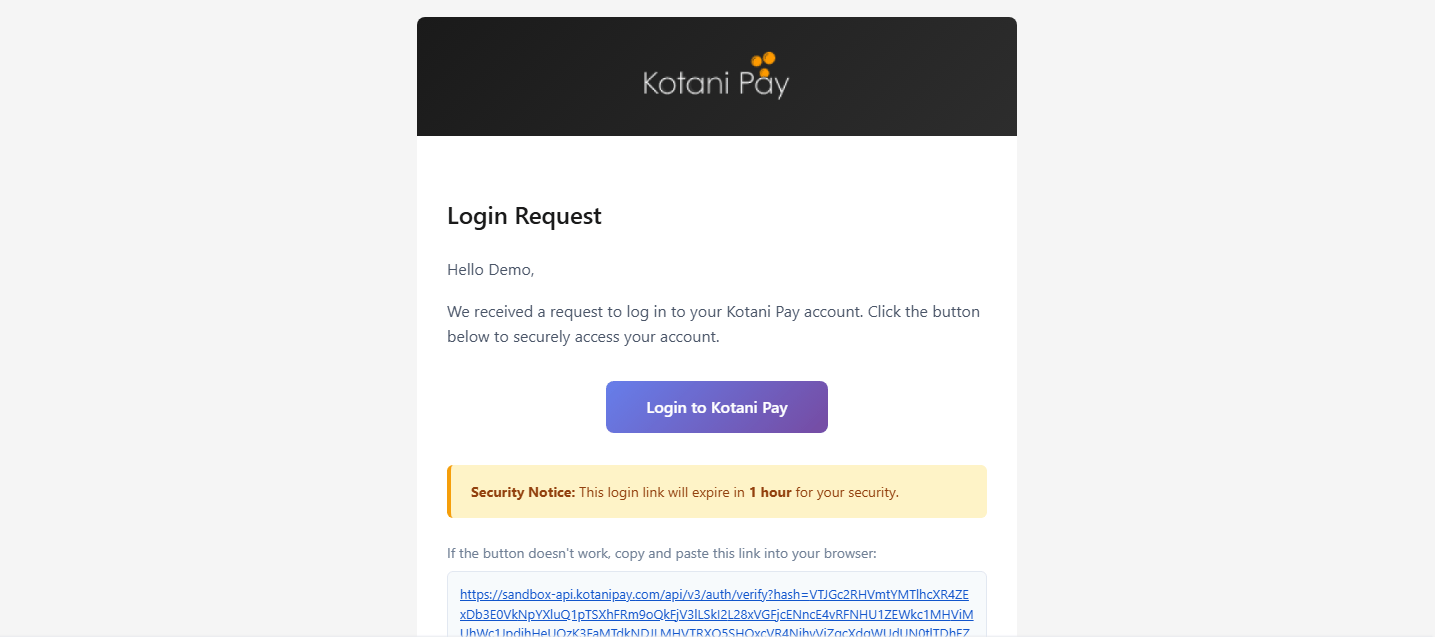 Check your inbox for an email from Kotani Pay. Click the **Login to Kotani Pay** button (or copy the URL into your browser).
The magic link expires in **1 hour**. If it has expired, repeat the `POST /auth/login` call to get a fresh one.
Check your inbox for an email from Kotani Pay. Click the **Login to Kotani Pay** button (or copy the URL into your browser).
The magic link expires in **1 hour**. If it has expired, repeat the `POST /auth/login` call to get a fresh one.
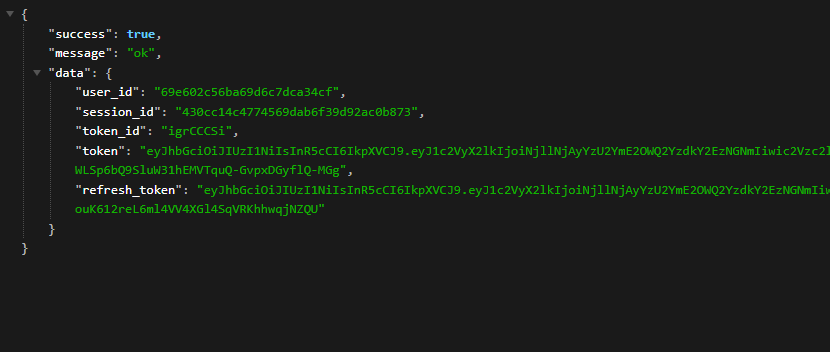 Clicking the link hits `GET /api/v3/auth/verify?hash=...` and returns your tokens:
```json theme={null}
{
"success": true,
"message": "ok",
"data": {
"user_id": "abc123",
"session_id": "sess_xyz",
"token_id": "tok_123",
"token": "eyJhbGciOiJIUzI1NiIsInR5cCI6IkpXVCJ9...",
"refresh_token": "eyJhbGciOiJIUzI1NiIsInR5cCI6IkpXVCJ9..."
}
}
```
Save the `token` — you'll use it in the next step. The JWT expires after **1 hour**; use `GET /api/v3/auth/refresh-token` with your `refresh_token` to get a new one without re-doing the magic link flow.
**Human verification**: If the link is opened by an email security scanner before you click it, you may be redirected to a verification page. Complete the prompt — the system re-validates the request and issues your tokens normally.
### Step 2 — Generate the Key
Two endpoints are available depending on whether you need a signing secret:
**Key only:**
```bash theme={null}
curl -X GET https://sandbox-api.kotanipay.com/api/v3/auth/api-key \
-H "Authorization: Bearer "
```
Response:
```json theme={null}
{
"success": true,
"message": "Api-key generated successfully",
"data": {
"key": "eyJ1c2VyX2lkIjoiYWJjMTIzIiwiY3JlYXRlZF9hdCI6Ii4uLiJ9.a1b2c3d4e5f6..."
}
}
```
**Key + secret** (for end-to-end payload verification):
```bash theme={null}
curl -X GET https://sandbox-api.kotanipay.com/api/v3/auth/api-key/secure \
-H "Authorization: Bearer "
```
Response:
```json theme={null}
{
"success": true,
"message": "Api-key generated successfully",
"data": {
"key": "eyJ1c2VyX2lkIjoiYWJjMTIzIiwiY3JlYXRlZF9hdCI6Ii4uLiJ9.a1b2c3d4e5f6...",
"secret": "7f3a9b2c1d4e5f6a7b8c9d0e1f2a3b4c5d6e7f8a9b0c1d2e3f4a5b6c7d8e9f0"
}
}
```
Store both values securely. The `secret` will not be shown again.
***
## Using the API Key
Include the key in the `Authorization` header of every API request:
```bash theme={null}
curl -X GET https://sandbox-api.kotanipay.com/health \
-H "Authorization: Bearer eyJ1c2VyX2lkIjoiYWJjMTIzIi4uLn0=.a1b2c3d4..."
```
The API also accepts a JWT token in the same header — both formats are valid.
***
## API Key Types
There are two ownership modes for an API key.
### Integrator Level
Generated without a user assignment — gets **wildcard (`*`) permissions**, meaning full access to all operations. Use this for your main server-to-server integration.
### User Bound
Generated tied to a specific dashboard user account. Starts with zero permissions — you assign only what that key needs via **API Keys** in the dashboard. Useful when you need scoped access (e.g., a key that can only initiate deposits but not withdrawals).
***
## Next Steps
Receive real-time callbacks when transactions update — two delivery modes
Understand how your fiat balances work and how to settle
Clicking the link hits `GET /api/v3/auth/verify?hash=...` and returns your tokens:
```json theme={null}
{
"success": true,
"message": "ok",
"data": {
"user_id": "abc123",
"session_id": "sess_xyz",
"token_id": "tok_123",
"token": "eyJhbGciOiJIUzI1NiIsInR5cCI6IkpXVCJ9...",
"refresh_token": "eyJhbGciOiJIUzI1NiIsInR5cCI6IkpXVCJ9..."
}
}
```
Save the `token` — you'll use it in the next step. The JWT expires after **1 hour**; use `GET /api/v3/auth/refresh-token` with your `refresh_token` to get a new one without re-doing the magic link flow.
**Human verification**: If the link is opened by an email security scanner before you click it, you may be redirected to a verification page. Complete the prompt — the system re-validates the request and issues your tokens normally.
### Step 2 — Generate the Key
Two endpoints are available depending on whether you need a signing secret:
**Key only:**
```bash theme={null}
curl -X GET https://sandbox-api.kotanipay.com/api/v3/auth/api-key \
-H "Authorization: Bearer "
```
Response:
```json theme={null}
{
"success": true,
"message": "Api-key generated successfully",
"data": {
"key": "eyJ1c2VyX2lkIjoiYWJjMTIzIiwiY3JlYXRlZF9hdCI6Ii4uLiJ9.a1b2c3d4e5f6..."
}
}
```
**Key + secret** (for end-to-end payload verification):
```bash theme={null}
curl -X GET https://sandbox-api.kotanipay.com/api/v3/auth/api-key/secure \
-H "Authorization: Bearer "
```
Response:
```json theme={null}
{
"success": true,
"message": "Api-key generated successfully",
"data": {
"key": "eyJ1c2VyX2lkIjoiYWJjMTIzIiwiY3JlYXRlZF9hdCI6Ii4uLiJ9.a1b2c3d4e5f6...",
"secret": "7f3a9b2c1d4e5f6a7b8c9d0e1f2a3b4c5d6e7f8a9b0c1d2e3f4a5b6c7d8e9f0"
}
}
```
Store both values securely. The `secret` will not be shown again.
***
## Using the API Key
Include the key in the `Authorization` header of every API request:
```bash theme={null}
curl -X GET https://sandbox-api.kotanipay.com/health \
-H "Authorization: Bearer eyJ1c2VyX2lkIjoiYWJjMTIzIi4uLn0=.a1b2c3d4..."
```
The API also accepts a JWT token in the same header — both formats are valid.
***
## API Key Types
There are two ownership modes for an API key.
### Integrator Level
Generated without a user assignment — gets **wildcard (`*`) permissions**, meaning full access to all operations. Use this for your main server-to-server integration.
### User Bound
Generated tied to a specific dashboard user account. Starts with zero permissions — you assign only what that key needs via **API Keys** in the dashboard. Useful when you need scoped access (e.g., a key that can only initiate deposits but not withdrawals).
***
## Next Steps
Receive real-time callbacks when transactions update — two delivery modes
Understand how your fiat balances work and how to settle